Showing posts with label Punch craft. Show all posts

Monday, October 3, 2016

A fresh start !

Hi Everyone,

Life gave me an opportunity to get back to my long lost love for creativity... And trust me that feeling is too extravagant for words.

Moved into a new house recently and took up the task of decorating it. Let me talk to you about my first project.

Most of us have empty bottle which just end up in the recycle bin... Lets rethink here!!

Imagine the unending list of things we can do with it... I just started with this


Used masking technique and a stencil to come up with this pretty looking vase

Here is a close-up of the stencil work... And voila... A ready-to-recycle bottle turns into a ready-to-use vase.


Created some more on similar lines... Here is a sneak-peak


It is a great feeling to create something for your own home as the place starts reflecting your personality and style.

So next time you have an empty bottle in your hand ... find a place for it in your house.

Thanks for stopping by.

Have a great day !

Tuesday, August 9, 2011

BEAUTY AROUND US..

Quilling can be very tedious. But the outcome speaks for itself.
A combination of Quilling and Punch craft helps make life easy.. A must try.

Thanks for looking.

Friday, July 22, 2011

RAVISHING ROSES

Love using these roses. Fun to make and beautiful outcome.

Thank for looking.

Wednesday, April 13, 2011

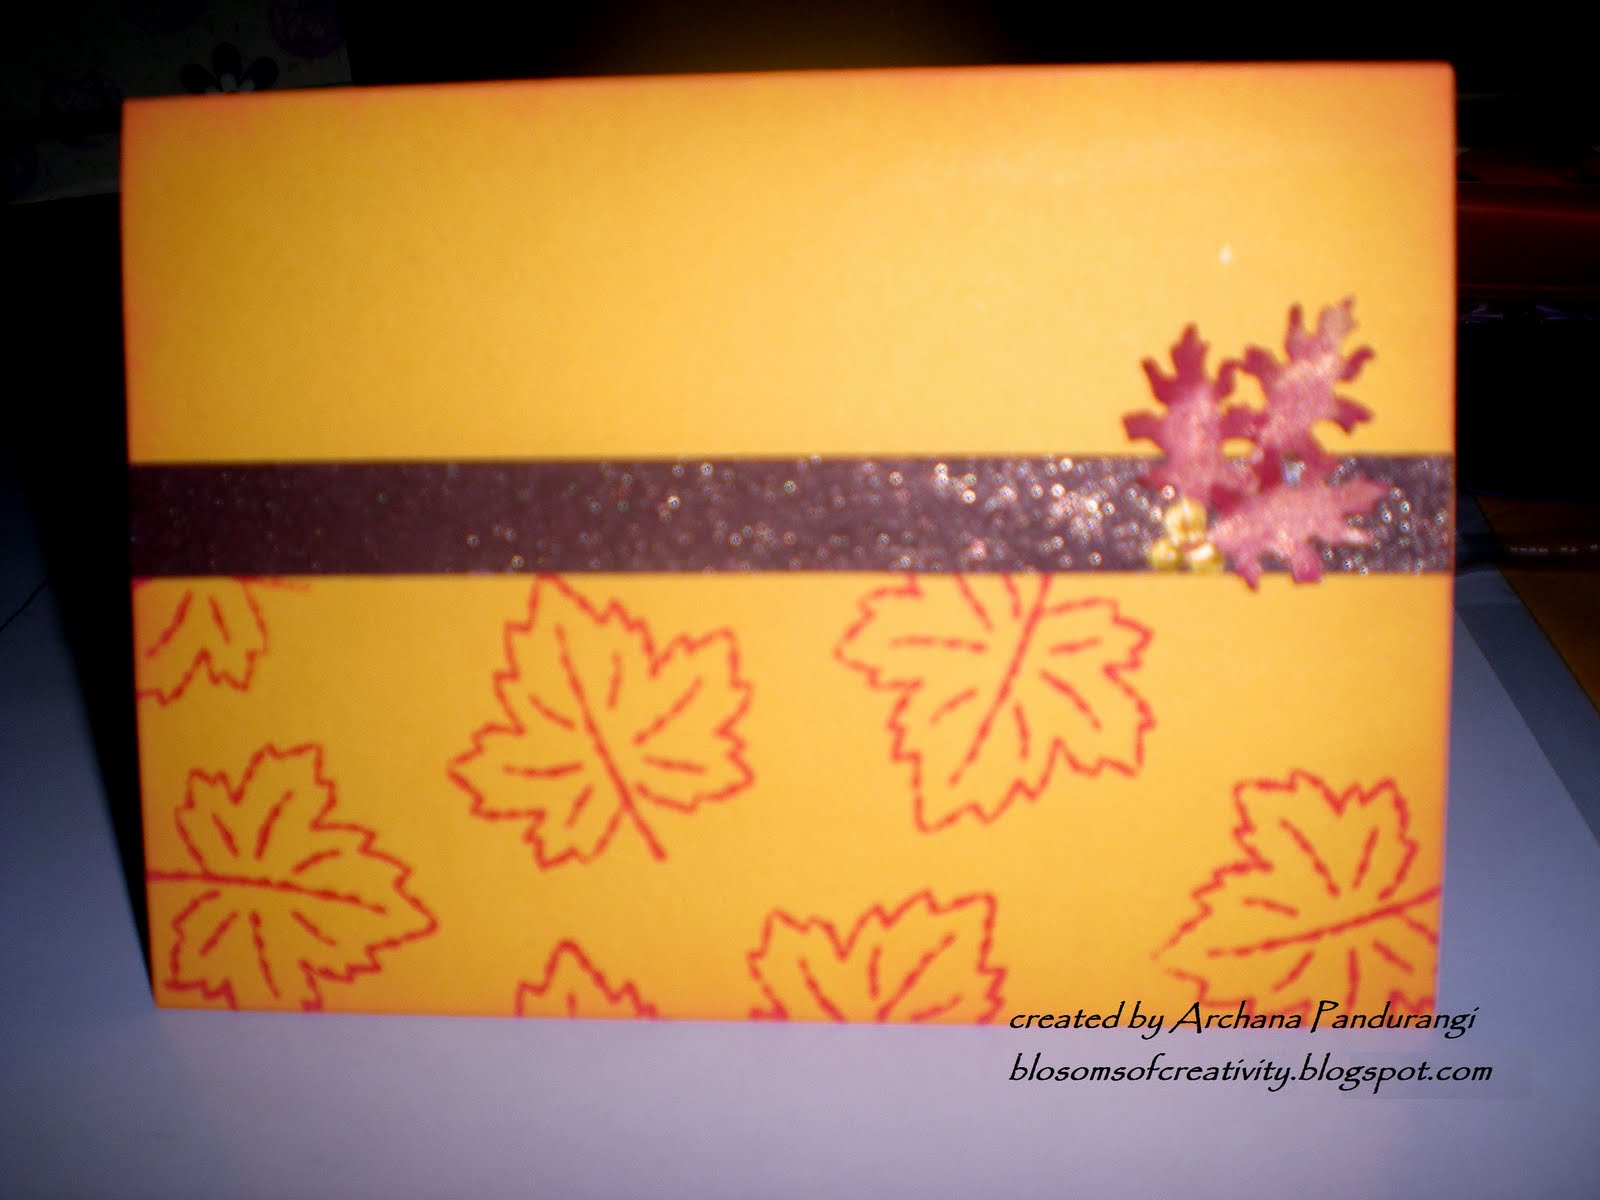
THE AUTUMN AURA

Though its summer I ended up giving this card a very autumn look. That is because I tend to use red with yellow quite often.

Never the less I liked the feel of it.

Thanks for looking.

Saturday, December 11, 2010

BROCADE LOOK

Stamped in copper acrylic paint and sponged around the card.

Thanks for looking.

Sunday, May 16, 2010

SIXER MIXER

I used a circle punch, some patterned paper, a sentiment stamp and wooden butterfly buttons for this card. Clean and Simple.

Thanks for looking.

Sunday, April 18, 2010

PHOTO FRAME ON CANVAS BOARD

I used a canvas board as the base.Used acrylic paint to give the background and for stamping. Sponge is the best applicator for larger surface and the finishing is pretty good.
I matched the photo frame with the ribbons and the sentiment and adhered the punched flowers and leaves.

You can view the tutorial HERE.

Thanks for looking.

Thursday, April 15, 2010

FLORAL BORDER

This was a customised order. The roses are quilled and the leaves and other flowers are punched.
A little sponging also creates very natural look. The punched flowers and leaves are sponged at the edges.And they gave an entirely different look after being given the shading effect.

Thanks for looking.

Monday, March 15, 2010

FLUTTERING BUTTERFLIES

I made this card for CAS58 on Splitcoaststampers.


The challenge was to use any shades of green and brown + white or cream.

Thanks for looking.

Saturday, March 6, 2010

JAPANESE INSPIRATION


I made this card for the Inspiration challenge IC222 . The picture below is my inspiration.
This was a fun card. I adhered the two coloured papers together and made the fan.

I made this flower using five pieces of a leaf punch. Very easy. If you have this punch you must definitely try it out.

Thanks for looking.

Tuesday, March 2, 2010

GOODBYE WINTER


I made this card for Color Combination challenge 260 in Splitcoaststampers and the Paper garden challenge.

Stamped the snowflake on the main cs as well as the panels and adhered the panel over it. Used black strip and punched snowflake to complete the card.

A close-up.

Thanks for looking.

Friday, February 12, 2010

JUST FOR YOU

Kept it simple. The JUST FOR YOU sentiment is from Stampin' Up! Tags & More. The maroon flowers are punched.

Thanks for looking.

Wednesday, January 20, 2010

BIRTHDAY INVITATIONS

This was made to order . I had to make 50 birthday invitations. I learnt a lot from this project.
Stamped and cut out the bunnies.

This is a 7x7 cm panel. I sponged the edges with red ink and the greenery was done with punched leaves.

Adhered the bunny only from the centre only so that it gives a jumping look and doesn't look very flat.


The room was full of these cards.
This was the final packing of the cards.
Thanks for looking!

Monday, December 28, 2009

NEW YEAR CARD

I got an order for New year cards . This is what I came up with. Mass production is fun and quick. The white snowflakes are stamped and the smaller ones are punched. The sentiment is handwritten.
Thanks for looking.


BIRTHDAY WISHES

I started this card without a pre-planned layout.Ideas just kept on coming as I started with it.

What I learnt from it is that you tend to have more fun making a card for which you haven't prepared much.

Thanks for looking.

CHRISTMAS CARD

A quick christmas card. The snow flakes are punched. The tree was cut from a DP. The sentiment is handwritten.

Thanks for looking.

Have a nice day.

Monday, October 26, 2009

MOM's BIRTHDAY CARD


I used the reverse masking technique for the orange circle. Arranged those punched flowers and added embellishments.
Have a nice day!

Wednesday, October 14, 2009

Flower Power

I love using flowers when I make cards. I feel it is the best way to express a lot. A flower thus has the power to say a lot with the least.

The pink circle is done by the reverse masking technique.

Have a nice Day!

Saturday, May 23, 2009

Asian Theme Card

I made this card for 4 challenges:
  1. CAS7- Use punches
  2. WT219- Stamp it again (stamped the same image twice)
  3. CAS15- Used black and white and only orange(from the list)
  4. LSC221- Circle of life. Used 2 circles in the card.

I used the REVERSE MASKING TECHNIQUE for the orange circles.Cut out strips of black paper and tore it on one side. Adhered it and added orange punched flower with black beads.

Thanks for looking.
Have a nice day!
Comments are always welcome.

Wednesday, May 13, 2009

Flower Just for you.. A sketch challenge


Here is the sketch for the CS228 challenge in Splitcoaststampers.


This is the card I made. I made 16 flowers the other day and was wanting to use it somewhere. So here it is.

I cut out circles with the zigzag scissors,then drew the lines on the circle for the petals, held 8 circles at a time and cut them making sure not to reach the middle of the circle. Curved the edges of the petals, sponged with pink ink and added the pink punched flower.

Thanks for looking!

Have a nice day!

Comments are always welcome.